If you want to connect Command Deck to a Mac and take advantage of Mac automation actions, you can either specify the username/password of a Mac account or provide public and private SSH keys. It’s up to you. Either way, all credentials are saved securely on your iOS device.
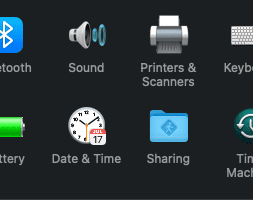
Regardless of which method you choose, you need to enable Remote Login. On your Mac, go to System Preferences and select Sharing:
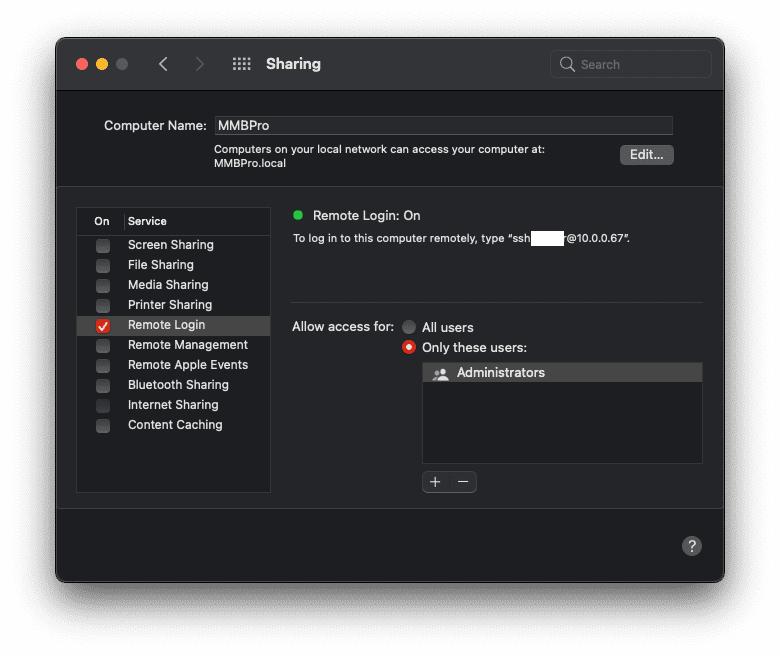
Make sure Remote Login is checked:
Now, if you want to use SSH Keys instead of password, follow the following steps:
Open a terminal on your Mac and run the following:
ssh-keygen -m PEM -t rsa -P "" -f MyKey
touch ~/.ssh/authorized_keys
cat MyKey.pub >> ~/.ssh/authorized_keys
chmod 0700 ~/.ssh
chmod 600 ~/.ssh/authorized_keys

mv MyKey.pub MyKey.pub.txt
mv MyKey MyKey.txt
Two files will be generated: MyKey and MyKey.pub. The first is the private key and the second is the public key. If you don’t have authorized_keys file, create one (using the touch command above) in the .ssh directory. Rename the two files with a .txt extension as shown above. Air Drop (or using any other method) the two .txt files to a folder on your iOS device (e.g., iCloud).
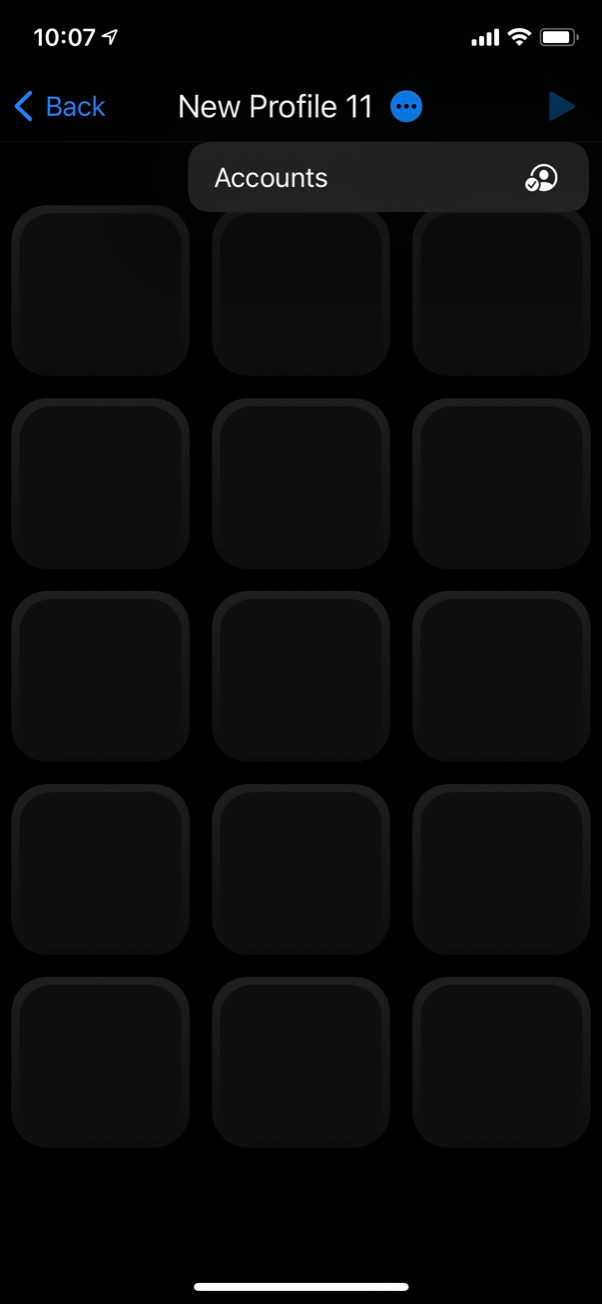
In Command Deck, long press the Play button and you will get the menu:
Tap on Accounts. You will be presented withe Mac Accounts Screen:
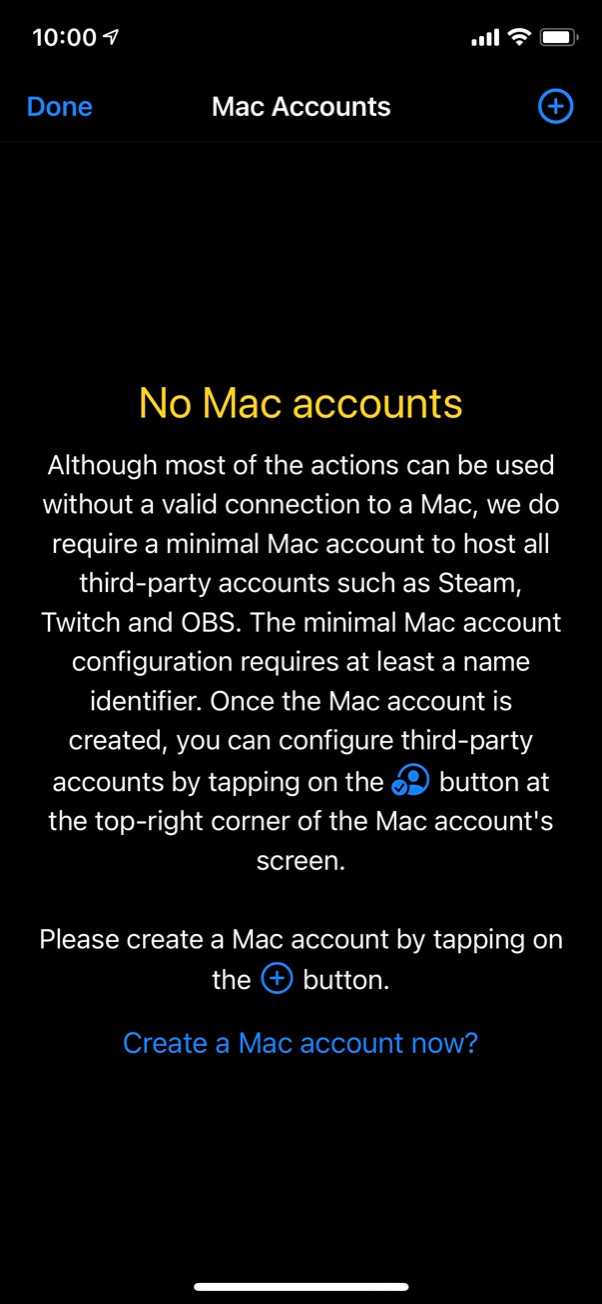
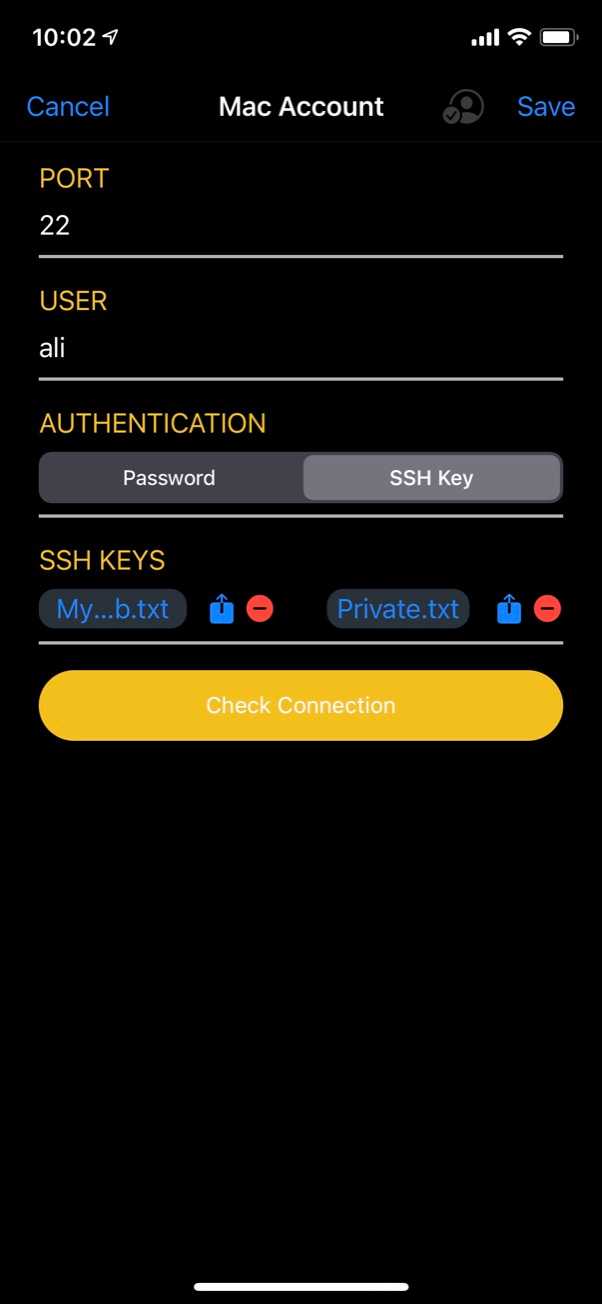
Tap on the Plus button. You will be presented with the Mac Account Screen:
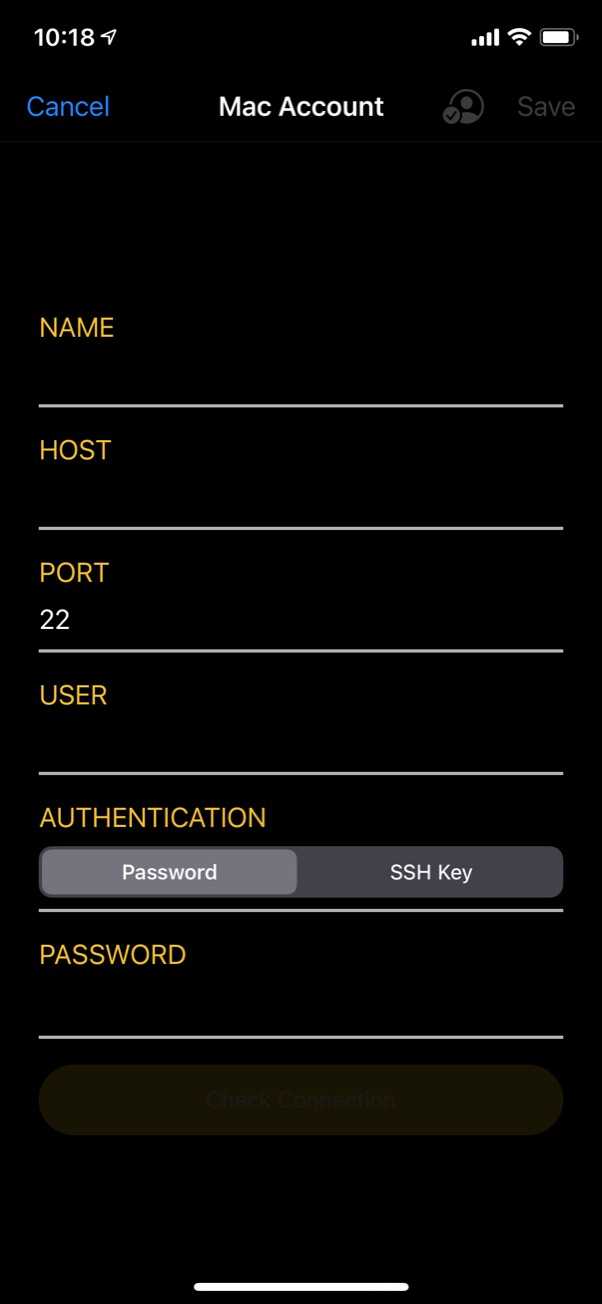
Enter a name for this Mac (can be any text). Enter the IP address of the Mac. Leave the Port at 22.
Enter the user name of the Mac.
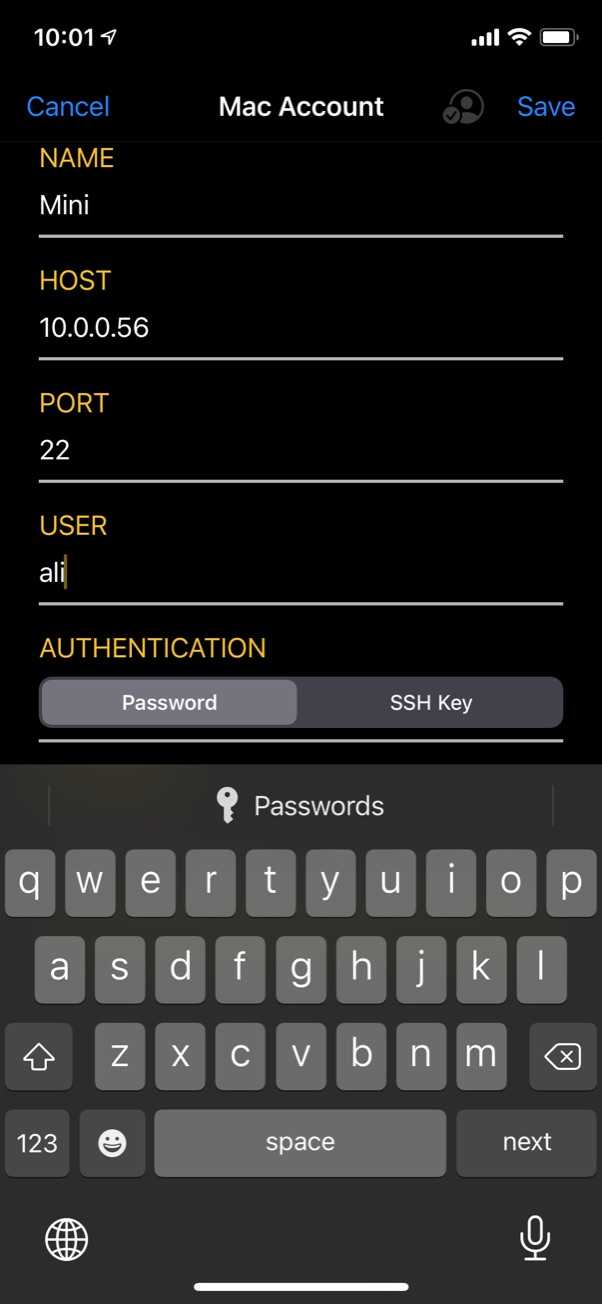
After entering the user name, tap Next on the keyboard. Now, you can either enter the password for the user
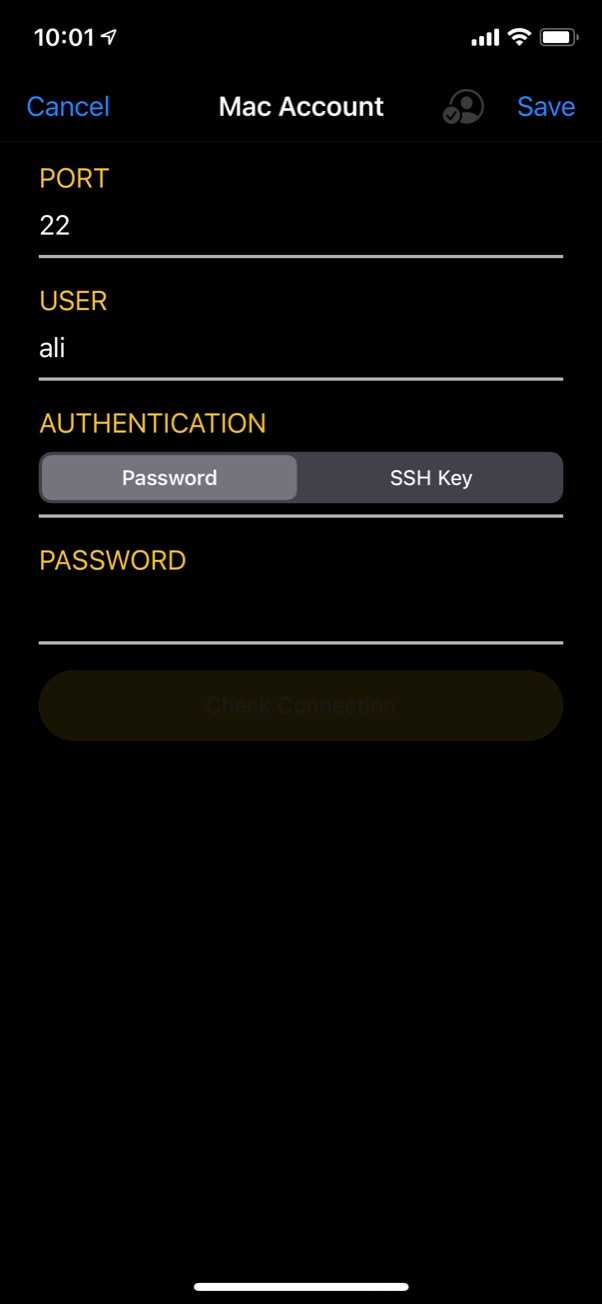
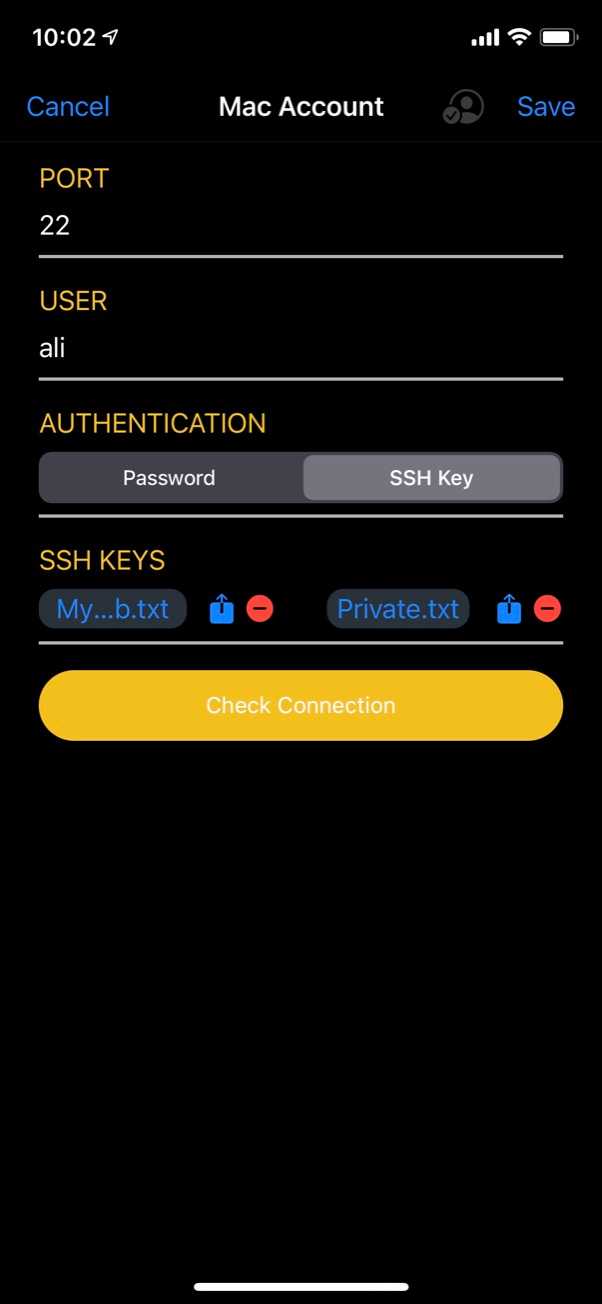
or select the SSH Key option:
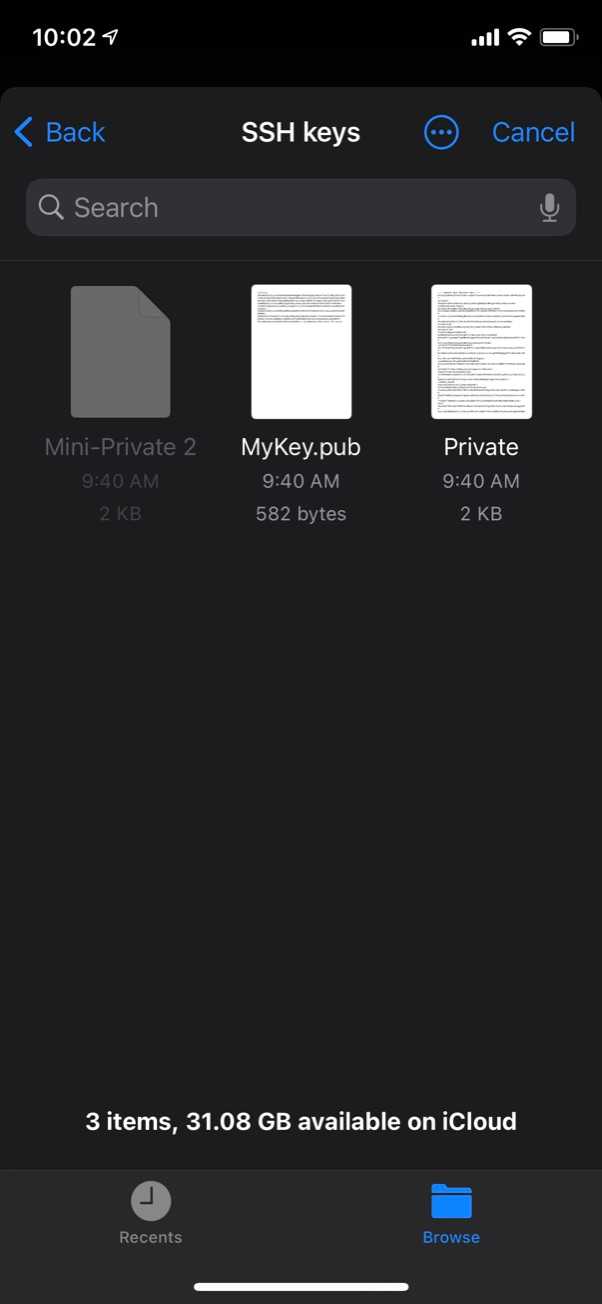
If you choose the latter, tap on the Public Key in SSH Keys and select the public key you generated earlier. Remember?
Repeat the last step and pick the Private Key.
Now, you should see a Check Connection button, tap on it:
If you did not do any mistake, you should see:
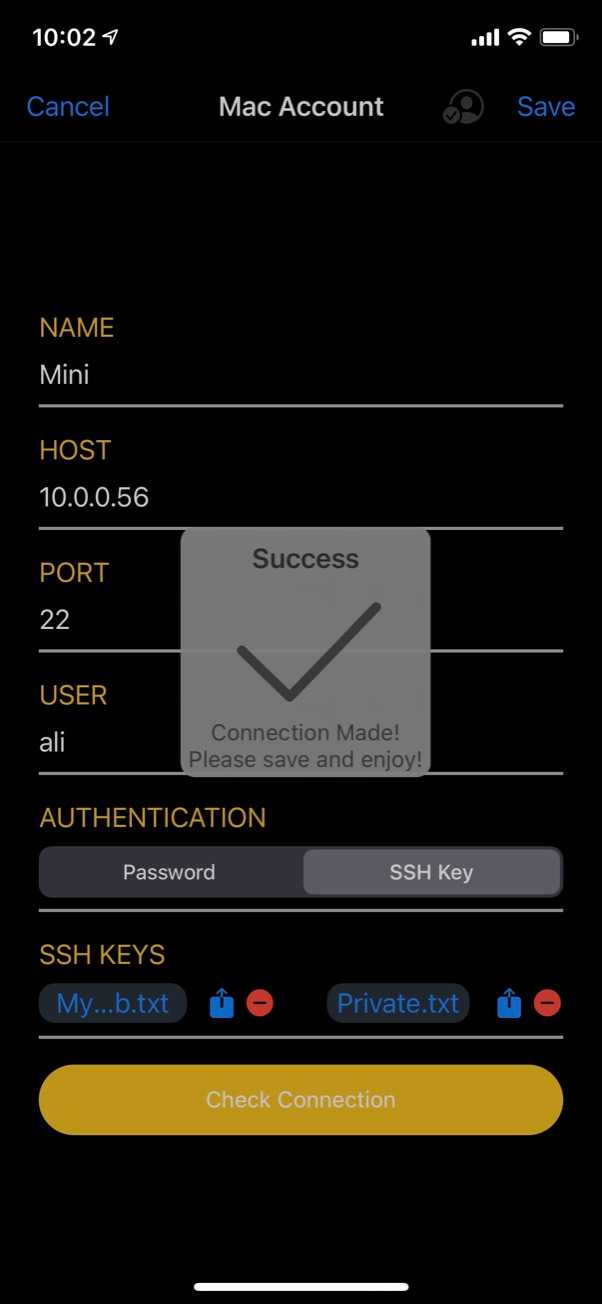
Tap Save.
You are back at the Mac Accounts Screen.

Tap Done.
Now, to test the setup, create a new profile:

Tap on any button and select Add Action. Select Say My IP action:
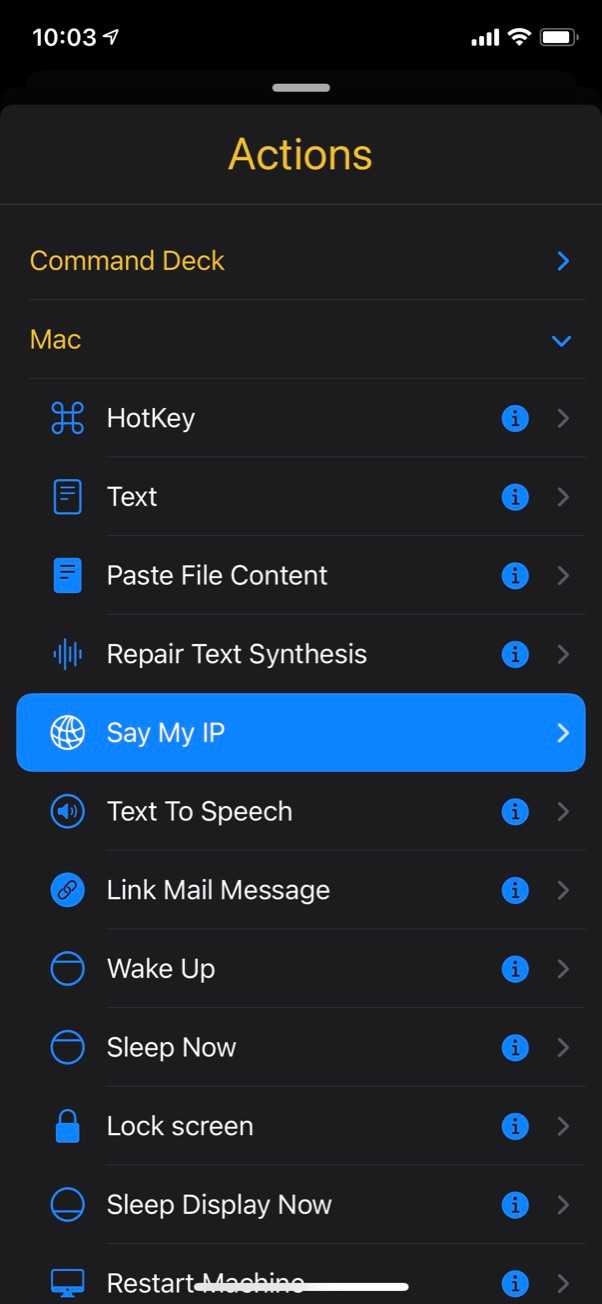
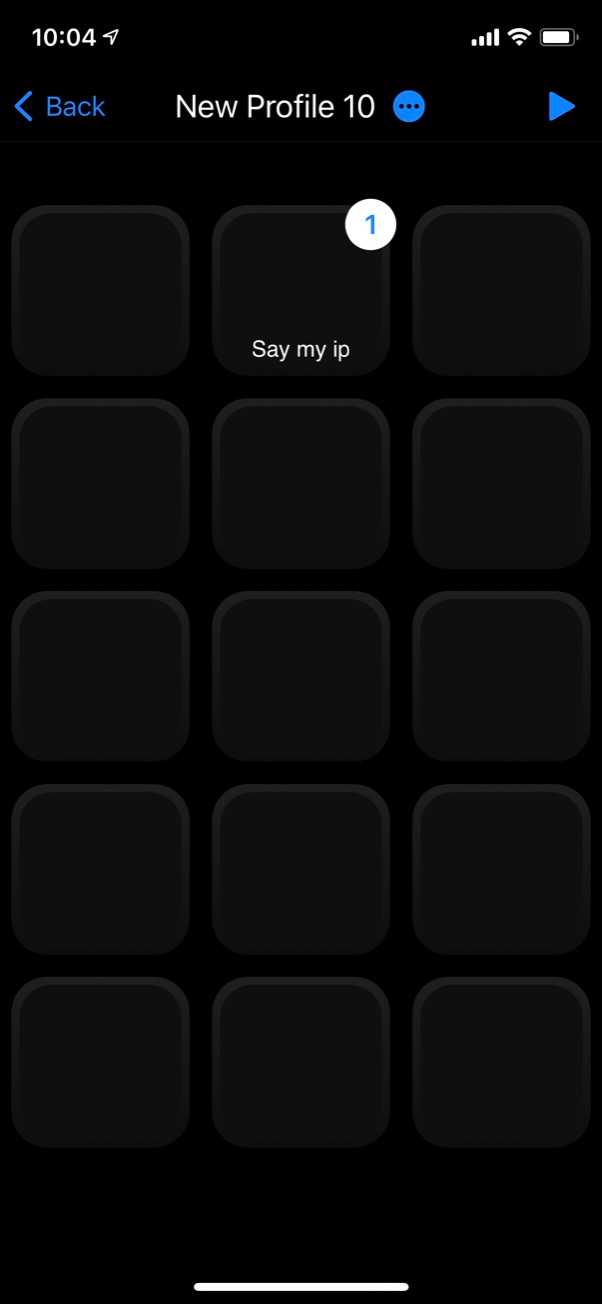
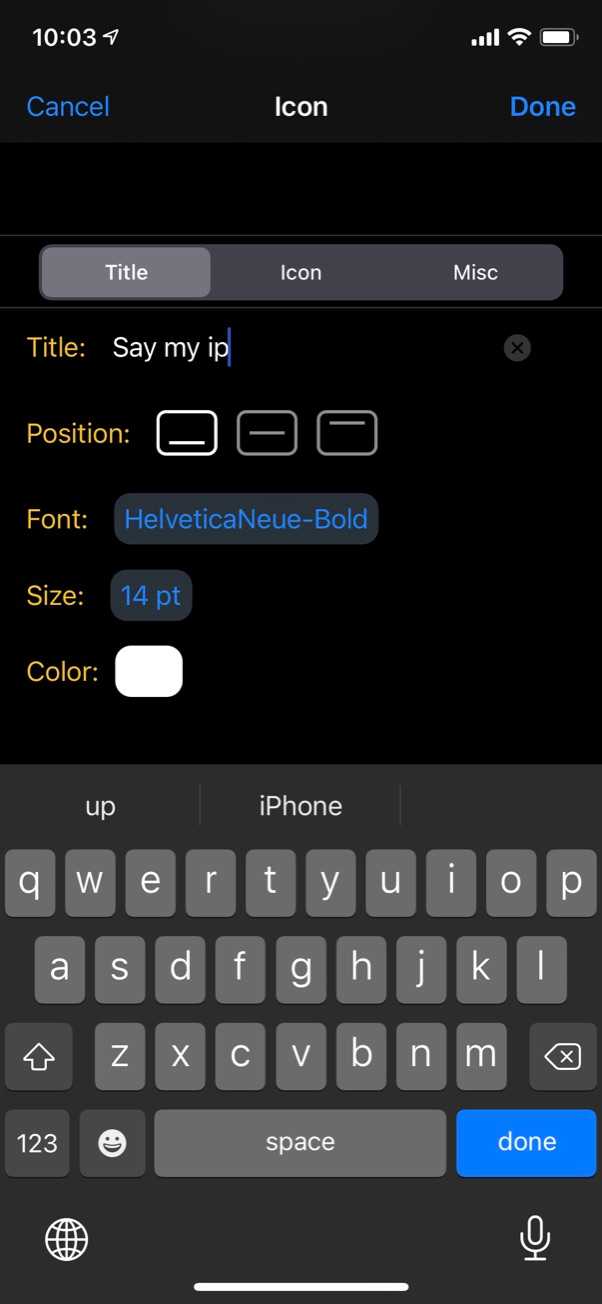
Configure it by tapping on the title of the button (the one in the navigation bar with three dots ”…” inside a blue circle). Enter a title and tap Done.
You should see something like this:
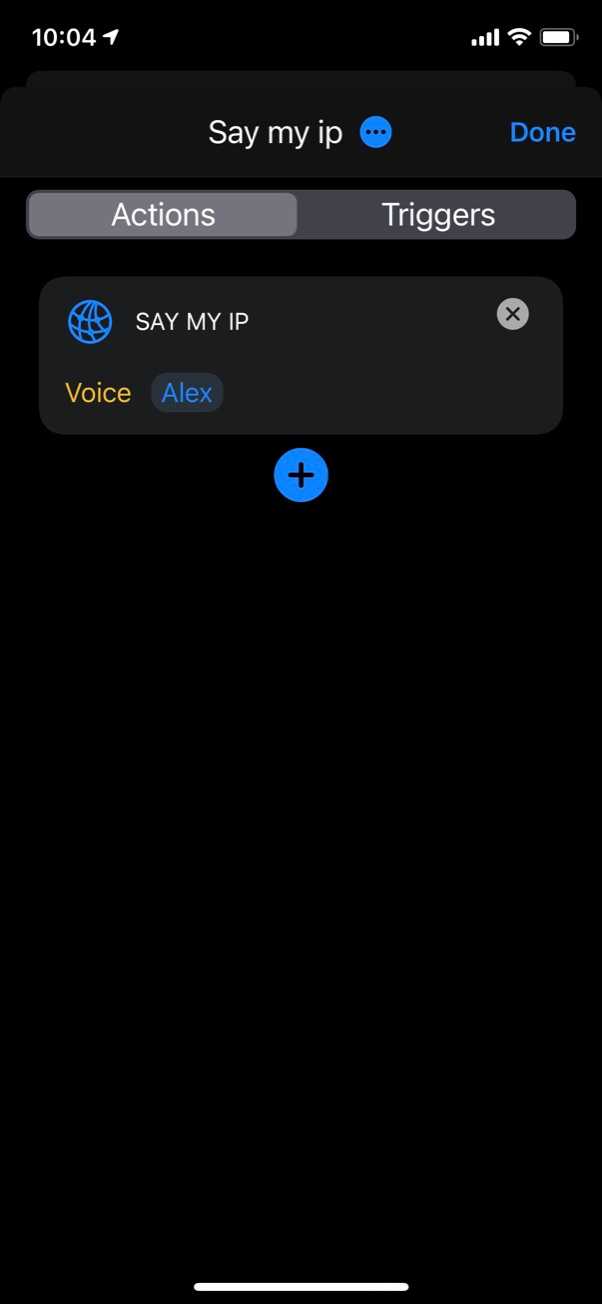
Tap Done.
You are back to the Commands Screen
Now, if you hit the Play button (top right) and tap on the new Command Button you just created, you should hear Alex on your Mac telling you the iP address of your Mac. Congratulations! Now you can either play with other Mac actions, go to the Mac account and configure third-party services (e.g., Twitch, Philips Hue, etc.) or add actions that neither use Mac nor services (e.g., a Countdown Timer). It’s all up to you. Use your imagination to design screens.
Thank you for choosing Command Deck. Your support is much appreciated!
